
It's been a long, long time since I've posted. Life is still... life-ing.
It's been a tough past couple years. Most of the time I don't even think of my old cooking and recipe blog!
This afternoon I was taking a break from convincing myself NOT to do all the things my brain is telling me should get done. I had Coffee Cake Muffins on the counter so I stood there eating one when I suddenly thought about the cooking blog, "An American Housewife" Cooks. No idea why but it popped in my head. I was SURE I had posted this recipe... probably at least 2 or 3 times, as I've made it at least 50 times in the past 10 years. I snapped a picture with my cellphone as I was eating, and then later, came online to see if it was here.
Well, I have no idea... because I didn't find it within the first 8 seconds of searching so I just opted to post again.
Carb count depends on the products and brands you use. Also, when I first started to make this recipe, there were VERY FEW products available... so my original hand written recipe card calls for things like Splenda and I think (?) Brown Sugar Twin or something like that. Because back then the market had almost no sugar-free, low carb, keto products. So things change over the years. Use what you use. Count your carbs and sugar using your products.

Coffeecake Muffins
Topping:
1/2 c almond flour
3 T brown sugar style natural sweetener
2 T coconut flour
3/4 t cinnamon
1/4 c melted butter
Mix the topping ingredients together to blend well and set aside.
Muffins:
2 c almond flour
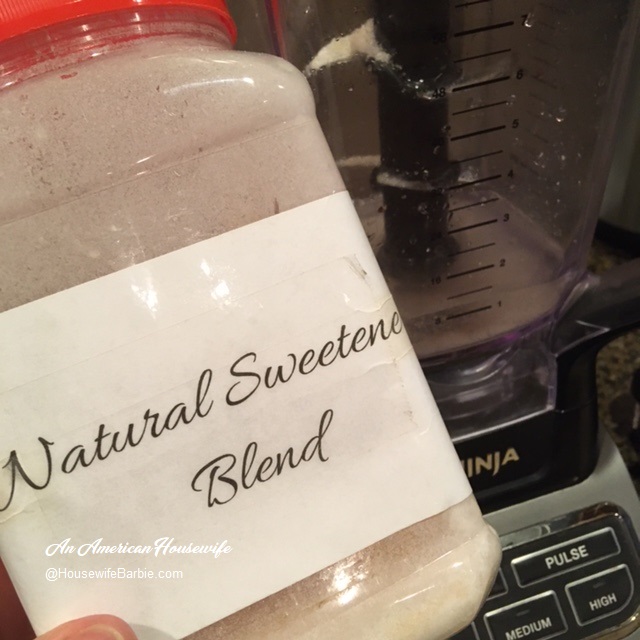
1/3 c sweetener of choice
1/4 c whey protein powder (unflavored or vanilla - zero carb, zero sugar)
3 T coconut flour
1 T baking powder
1/2 t cinnamon
1 t vanilla
1/4 t salt
1/2 c melted butter
4 eggs
1/2 unsweetened almond milk
Preheat your oven to 325.
Whisk together the dry ingredients for your muffins.
Stir in the butter, eggs, almond milk and vanilla. Mix well by hand or briefly with mixer.
Fill lined muffin tins (makes 1 pan of 12-ish or about 6 jumbo with some leftover). Place some of the crumble topping on each muffin tin of batter. Bake for 25-30 minutes until done. Cool complete in pans.
If you wish at this point you can add a simple sugar free drizzle on top:
1/4 c powdered natural sweetener
2 T water or almond milk
1/2 t vanilla
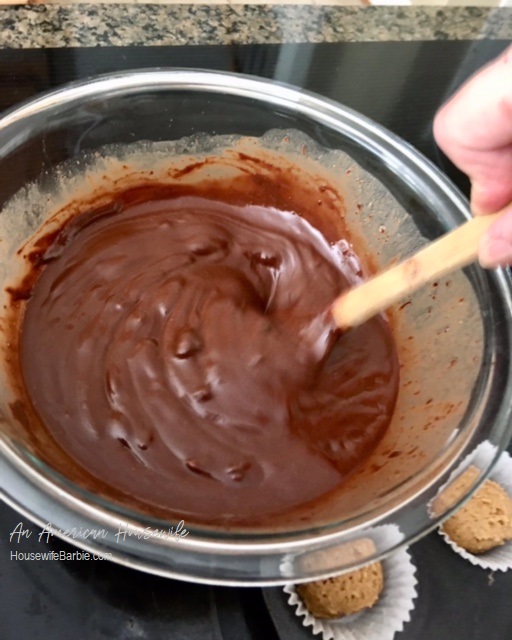
Or top with a sugar free frosting. I used a cinnamon flavored frosting on the ones in the photo above.


