 |
Potato peel crisps
|
 |
Camping Potatoes - using the peelings
|
Although we don't get to eat potatoes regularly anymore because of the high carb content, we love them. Anything you can make with them - any way, shape or form - I probably love it. Potatoes and onions are two of my all-time favorite foods.
Over the years of cooking them and using them in dishes, I've come up with a few ways to not only use leftovers from meals of mashed potatoes, baked potatoes, etc; but use up the peelings as well.
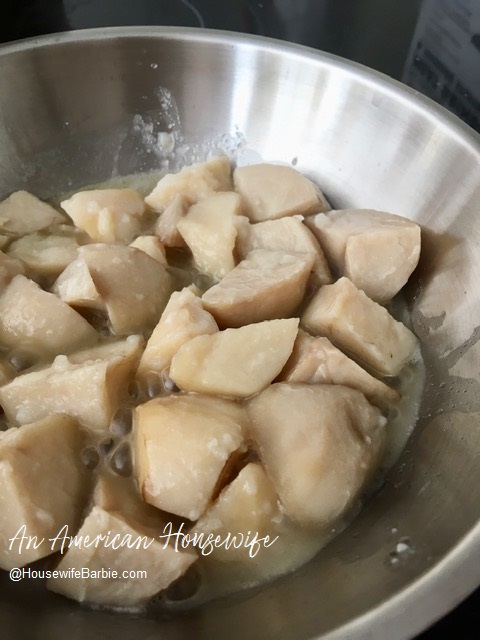
When I can potatoes I use a knife - not a potato peeler, as I personally like the feel of a paring knife better and can clean them faster. I knew I planned to use the peels to make two side-dishes so I was also happy to slice freely with a bit more potato on each slice as I planned to use them in other dishes.
I soaked the peels in water to keep them from browning, and then drained them just before using.
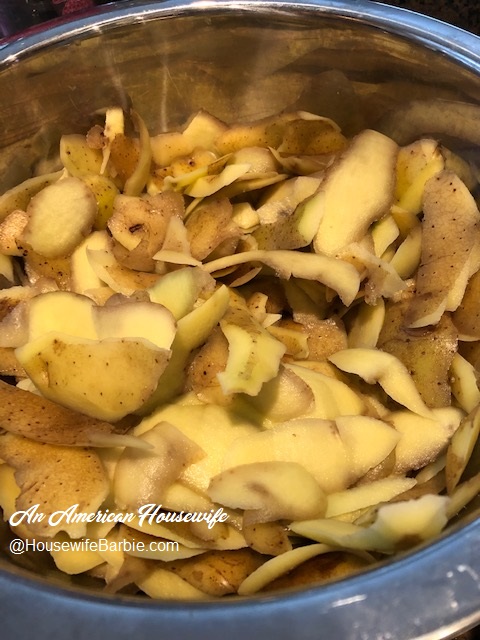 |
Potato Peels
|
I've been cooking for more years than I'd like to admit (count the years in decades). One of the first ways I ever used up potato peelings - and did so for the first 20 years of our marriage - was to make pancake syrup from them.
I actually make pancake syrup from potatoes in two different ways; you can either boil the potatoes whole with the skins on and use the potatoes after, however you wish; and the second is to peel and clean the potatoes first and use the peeling's starchy water after. Either way works. This recipe is very, very old.
Pancake Syrup Made from Potatoes or Peelings
Approximately 6 potatoes - the starchier the better (like russet) or the peelings from 6-8 potatoes
1 c sugar
1 c brown sugar
Scrub the potatoes well and place in a pan with 2 cups of water. I've also used just the peelings from a bunch of potatoes (anywhere from 6-8). Boil them, reducing the liquid until about 1 cup of the water remains. Remove the potatoes and use them for another dish. To the water remaining in the pan add the sugar. Bring to a boil, stirring to dissolve. When dissolved, continue boiling about 1-2 more minutes. Remove from heat and let cool. Pour into a mason jar or other container, like recycling a syrup bottle. You can use it right away, but the flavor is best if you can keep it in the cupboard or pantry for a few days before using. Tastes like maple syrup!
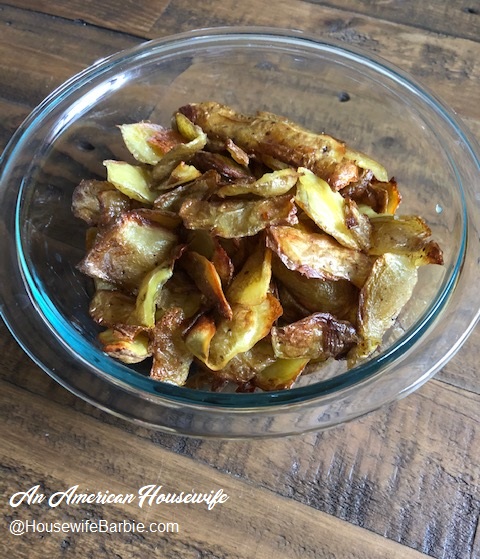
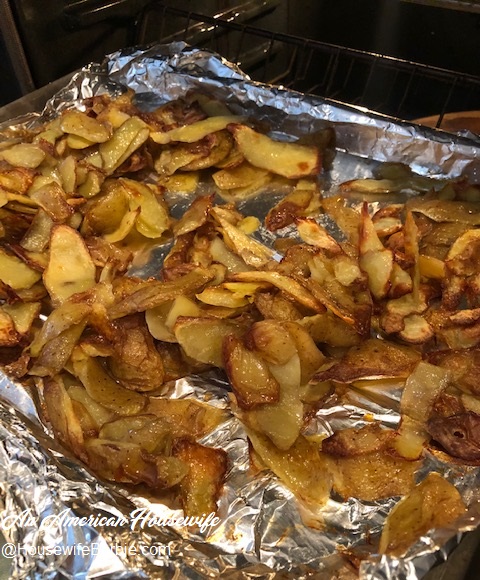
The second way to use up potato peels - Baking them into a crispy treat to snack on. (The top photo)
Potato Peel Crisps
Potato Peelings
Onion powder if you wish
Oil
Salt (and if you wish, pepper)
Toss your peelings with oil (I use avocado oil or olive oil). Spread them in a foil lined baking pan or baking sheet. Sprinkle with a little onion powder if you choose, then sprinkle with salt and pepper if you like it as well. I like them with just oil, a little onion powder and salt. Bake at 400 degrees approximately 20 minutes or more depending on the level of crisp you like. Flip them and stir them a bit every 8 minutes or so to cook them evenly. Around 15-20 minutes they are 'done' but if you want them really crispy, keep baking them longer, checking every 4 minutes or so. Serve as is or with a sour cream dip.
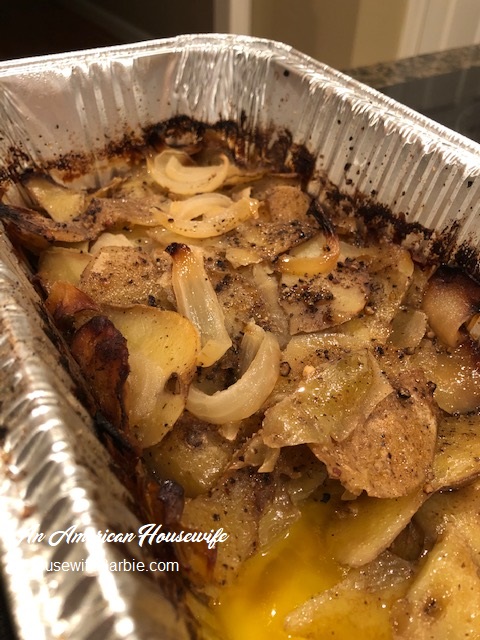
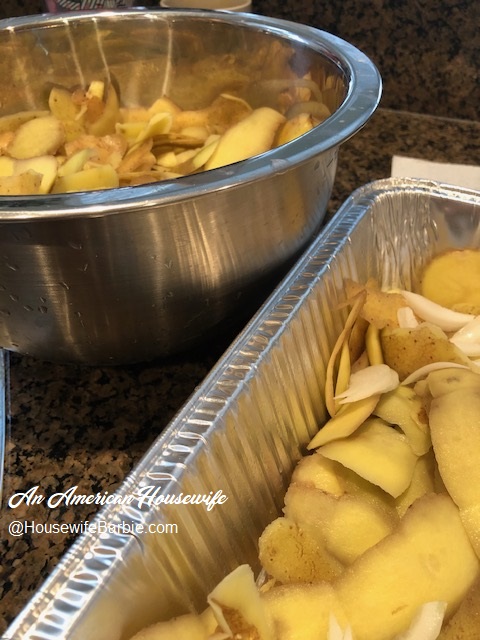
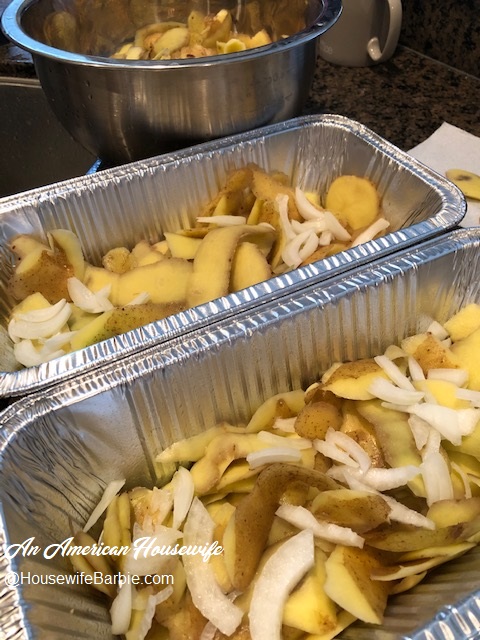
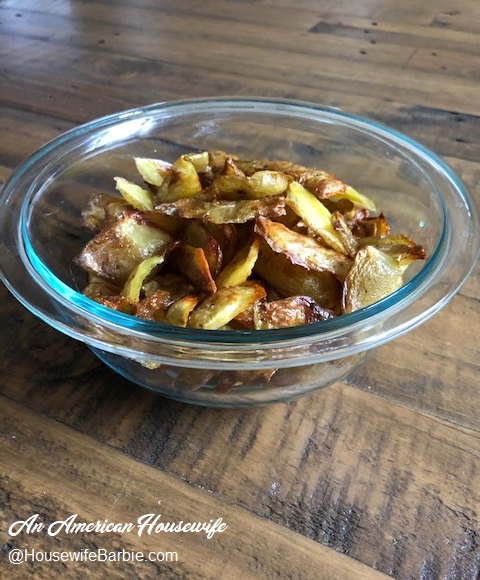
The last idea on this post for using up the potato peelings is to make the old, well known 'campfire potatoes' but make them using peels from other potato dishes or home canning. (The second photo above).
Normally you make individual campfire potato packs wrapped in aluminum foil and cook them over the fire when you are camping or at home in the oven just because they taste so good. You use the whole potato, sliced up, topped with a bunch of other ingredients that everyone pick and chooses based on their personal tastes - topped with a bunch of butter, wrapped up tightly in the foil and eaten out of the foil as everyone sits around the campfire.
This is like that - but the photos you'll see I opted to use a disposable aluminum pan for these batches. I have leftover aluminum pans on hand from holiday cookie baking AND this allows me to cover the pans with foil and pop them into the deep freezer to grab out for future meals or when/if we have guests over.
Campfire Potatoes
Peelings from your other potato dishes or home canned potatoes
Onions
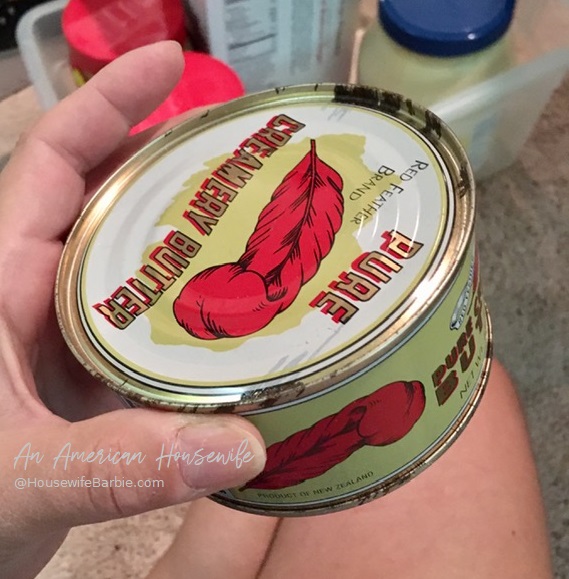
Butter
Salt and Pepper
Onion Powder
Garlic, green peppers, other bell peppers, zucchini, green onions, chives, cheese, bacon bits, etc.
*if baking in an aluminum pan in the oven, add about 1/4 c cream. If baking in little packets, do not add liquid.
If you are using disposable aluminum pans, grease or spray the pans, otherwise use a double layer of aluminum foil or use heavy duty aluminum foil pieces large enough to wrap a pile of potato and other additions in and wrapping up to seal tightly with space for a little expansion.
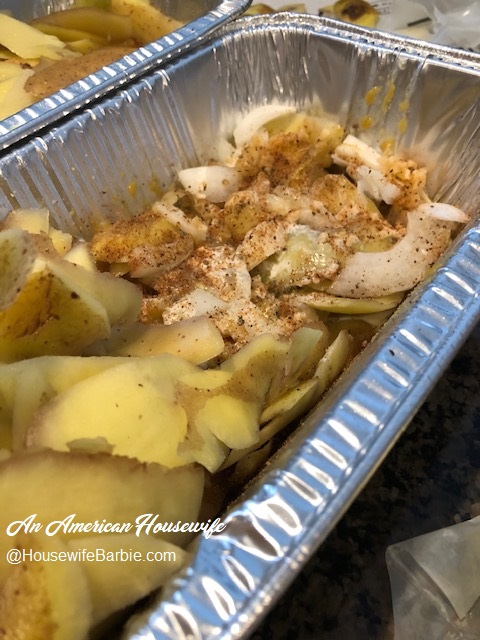
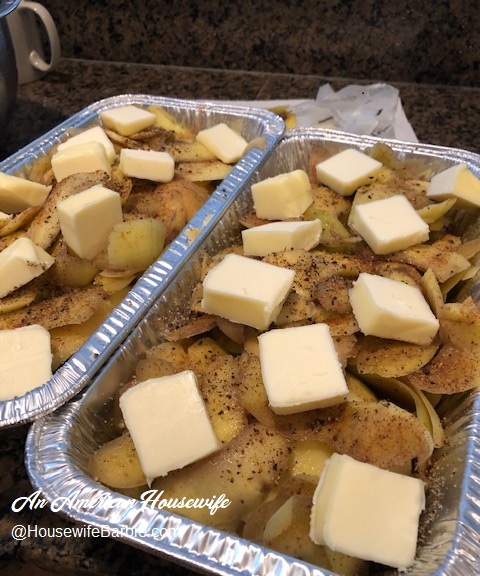
Layer leftover potato peels and bits and pieces along with onions and a bit of onion powder; if you like and want to add things like bell peppers or other ingredients - yes, please! In a pan in the oven, add about 1/4 cup cream poured over all. Do not add cream to little foil packets though. Top with a bunch of butter pieces or pats. Cover the pan with foil or seal up your little foil packets - but not too tightly, the potatoes and veggies will expand a bit during cooking.
Cook either over your coals or in the oven at 400 degrees for about 30-35 minutes until thick and dark golden brown. Uncover the foil pan half way through cooking. If you use potato slices you'd have to cook about 10-15 minutes longer but peelings are thin and cook faster.
_____________________________________
Photo: layering leftover potato peelings from canning potatoes in a disposable pan with onions and seasonings. I baked them, then served one and froze the rest for future meals - as they just have to be reheated in the oven.
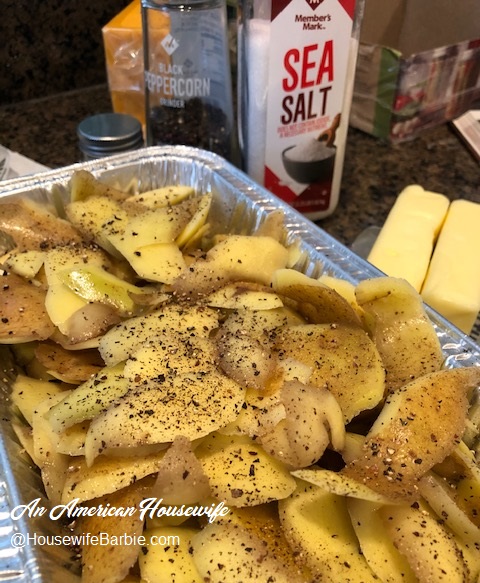
Layered to the top and then lots of yummy salt and fresh cracked black pepper
I went a little heavy on the butter this time - oops! I was busy and just quickly cut up butter and threw it on. I wasn't really thinking about it.
These were some of the peelings tossed with oil and sprinkled with salt and a bit of onion powder
Crispy potato peelings... yum!


