In our family, we don't waste food. Before anything is discarded, thought is given to what else I can do with it. When it comes to apples, I love getting the peels and scraps to make into homemade apple scrap vinegar.
Apple cider vinegar at the store is pretty expensive! You can make a similar homemade
apple scrap vinegar for free.
You can't use it for home canning as it's not acidic enough but I don't use my apple cider vinegar for canning anyway. We use it for daily health, or in a healthy tea or usually - salad dressings and side dishes like cucumber salads, etc.
I love it because it's a little more 'drinkable' than the more acidic cider version, meaning it's not as strong. It's not as 'harsh' on the palate but still has all the healthy, yummy goodness.)
It's SO EASY and all you need are apple scraps, a container and something to cover it with.
And time. About 2-3 weeks.
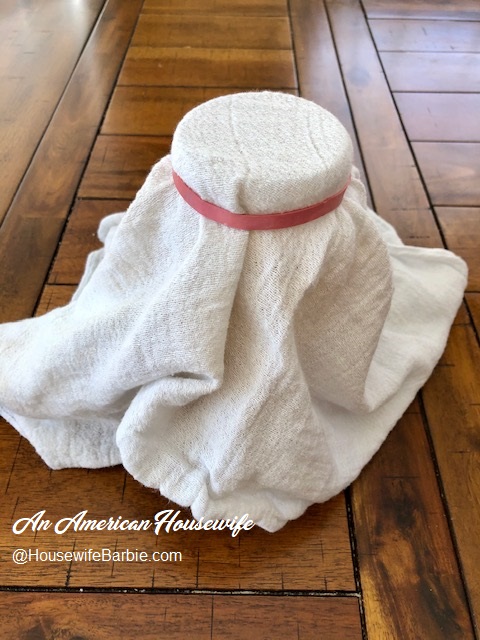
My little 'ghost'...
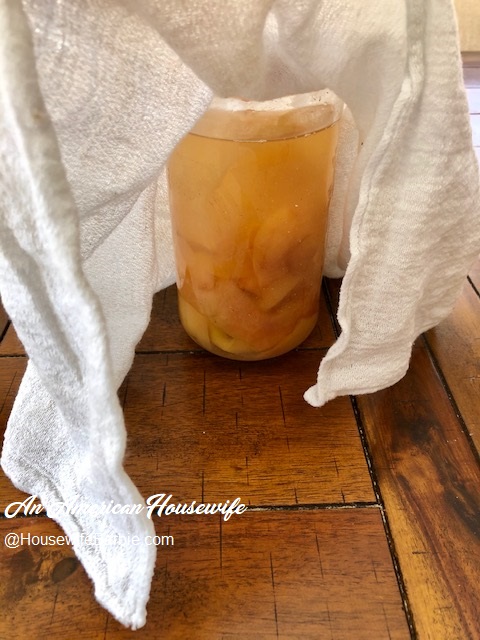
Take a peek under the cheesecloth...
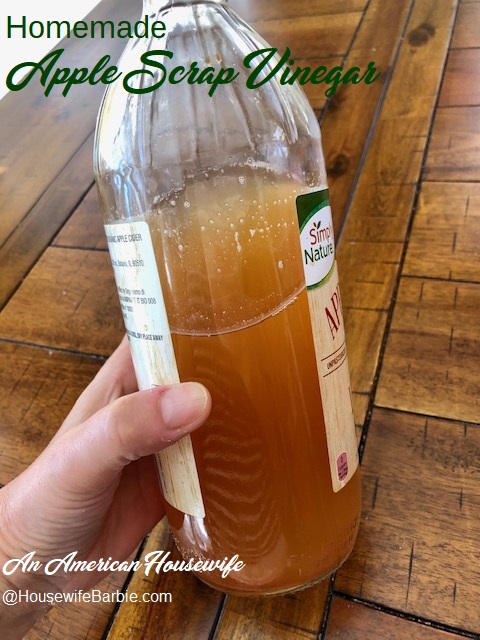
No longer fizzing, it's done fermenting. It tastes and smells like a
fresh apple vinegar smell.
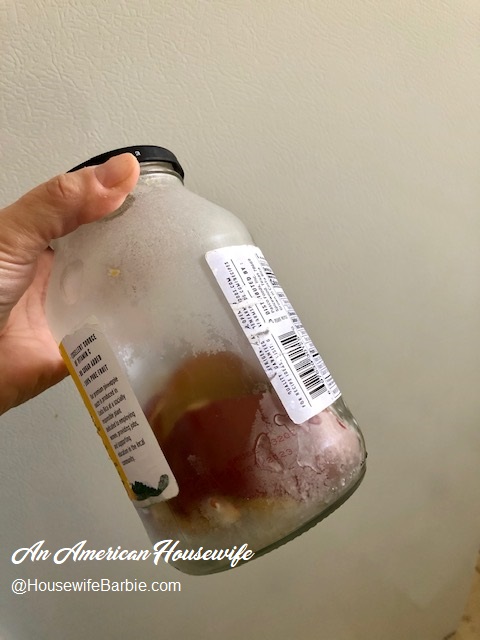
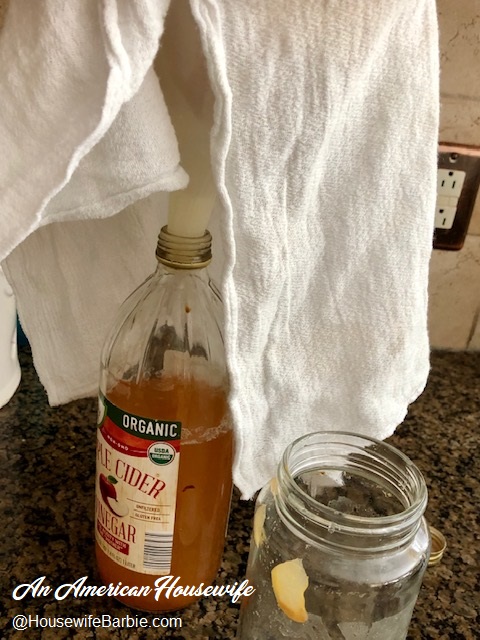
Time to strain it into the container I'll be keeping it in.
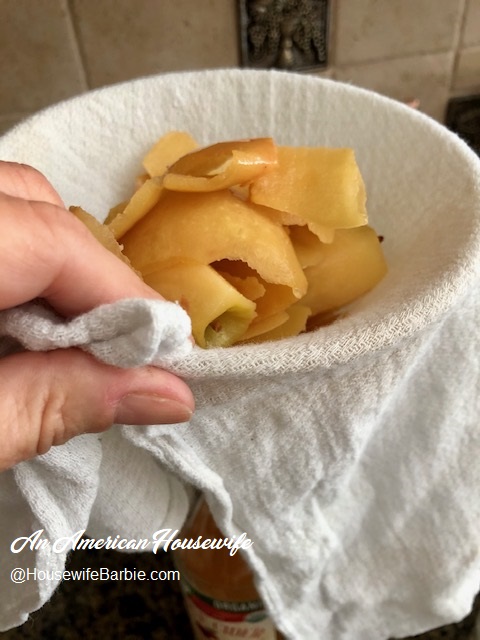
In my case, I use an old apple cider vinegar bottle.
Apple Scrap Vinegar
Apple peels and cores leftover from pie, applesauce, snacking, etc. (washed
before you peeled them of course)
A clean glass jar or crock (nothing
metal)
Sugar
Cheesecloth and a rubber band
Water
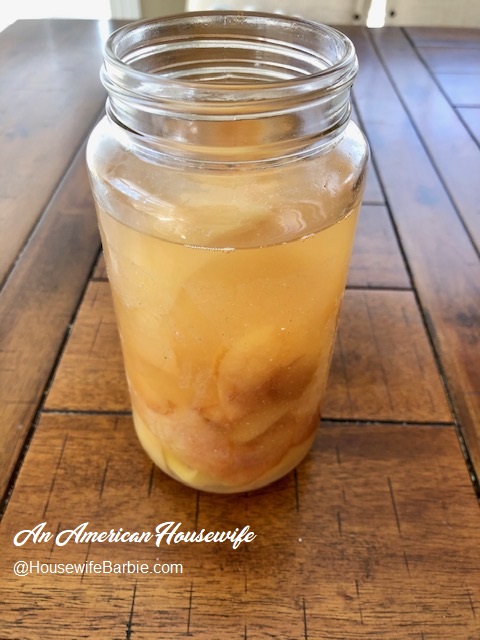
Place your scraps and peels into a very clean jar or crock - the size, according to how much you have. It can be a tiny jar with one or two apples' scraps or a whole lot of cores and peels from a major home canning project and maybe use a large gallon jar.
Add water to fill, making sure it is enough to cover the peels and cores.
(I've never had a problem using water from the tap. Our water is
'city' water but it works just fine in my apple vinegar and my homemade
wines.)
Add sugar of your choice - and the amount doesn't have to be precise.
For my 2 cups of water I used 2 'scoops' of sugar which was probably close to
about 2 tablespoons.
Mix a bit, and make sure the liquid
covers the apples. They may float up and peek over the water a bit,
that's fine - because you'll be pushing them down at least once day. If
you have a crock made for fermenting, you can use the weights to keep it down
as well.
Cover with the cheesecloth to keep little fruit flies, dust, etc. out but also to let the gases escape as it ferments so it doesn't fizz all over the place and do a little blowing up so to speak. Secure with a rubber band. Now, set it in a nice, calm, warmish out of the way place.
For the next week or two, check it at least once a day, and using a clean utensil every time, push the apple scraps down into the water a few times to swish it. Cover it back up. Do it again tomorrow. And the next day.
Within a few days you should start to smell a little apple cider vinegar smell. It should be a good, fresh smell. You can also taste it and it will be a light taste, but over the next few days should get stronger.
Keep checking and pushing down the scraps until it no longer ferments - or shows 'fizzing' around the edges. When it's 'still' it's done working. At this point, strain it into your container through the cheesecloth. Cap it loosely and let it sit another 2 weeks to develop an even deeper flavor.
Now you can use it. Dressings, salads, teas, drinking, cooking...
cleaning. Whatever you use your regular apple cider vinegar for, except
(again) canning as this isn't strong enough.
Don't have enough 'scraps' yet? No problem. Keep popping
them into a container
in your freezer until you get an amount you want to
turn into apple scrap vinegar.
Here is my new 'batch' of scraps started
in the freezer.