This post is MOSTLY here because I think my oldest daughter might want to make this in the future and I wanted to jot down and save photos of the process for her. But I keep my blog public so it can help others as well; so maybe someone else (you) would like to see the process I used as well.
I'm not a 'cake maker' and I'm just a Mom who makes birthday cakes for her family. I saw this cake idea, I had no idea how I'd make it, but I figured I'd look online for a few items and make it up as I went along. I went to a decorating site I use and put in a search for a "purse logo mold" and this one showed up, so I ordered it. On the "you might be interested in..." that they add to the page, I saw a mold for chain link. I had wondered how I'd make those - so I ordered that too. Then I ordered some yellow gold fondant and some glittery gold edible food dust... just in case I needed it.
Normally I make my fondant but getting a deep black was going to be difficult so I checked and they sold black fondant in a brand I like and tastes good so I ordered a small container of that too.
And that was it. I tucked those away without a plan...
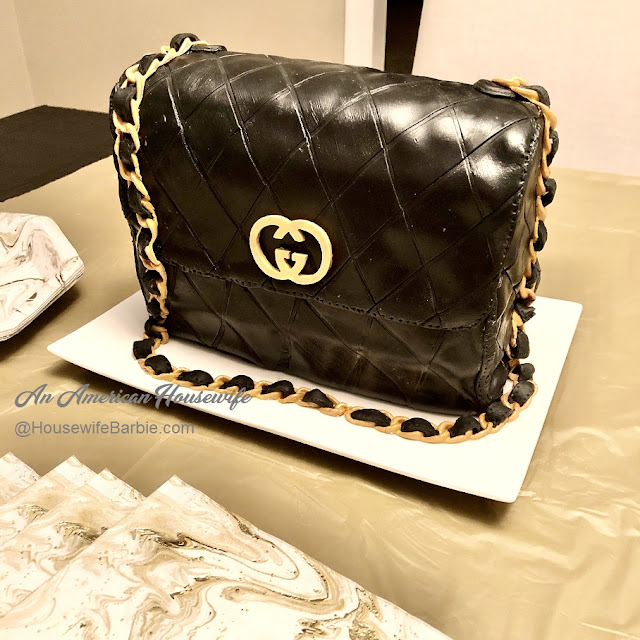
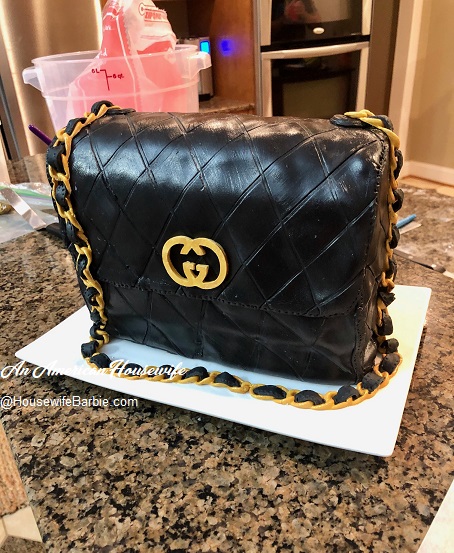
Here are a few more photos of the cake as I set it up on the dining room table - literally MINUTES before they were due to arrive. The birthday girl and her family plus my son were all arriving after about a 15 hour drive, in which they also had car trouble and stop for a new alternator. I put this on the table, got the stuff surrounding, and they arrived in less than 10 minutes. PERFECT because she needed a happy, uplifting 'birthday party' after a long, frustrating drive.
We enjoyed cake, a quick dinner, laughter and hugs... and then everyone went to bed, exhausted. LOL.
In my head I figured a bread pan would make a great cake pan because I wanted that sort of shape.
I baked the cake in a bread or loaf pan as well as an oval Scandinavian Almond Cake pan but you can also just cut the top of a loaf/bread pan baked cake to be a rounded shape.
On "put it together day" I got out the random things I had ordered, thinking I may or may not use them.
FIRST: I used some gold/yellow fondant to form the Gucci logo for the front of the cake. I knew I would have to let it set up to dry and harden a little before I could use it. I did not make the chain at this time because I knew it would still have to be somewhat soft in order to form to draping... not too hard and not too soft.
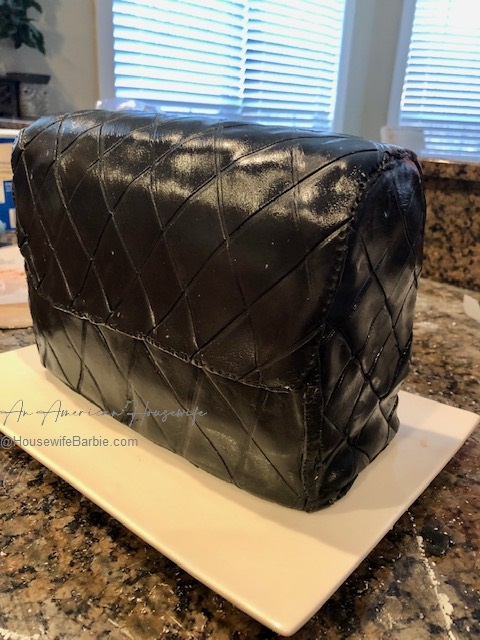
SECOND: I didn't know what I was doing but I grabbed a hunk of black fondant and started to roll it out. I measured the cake to get a rough estimate of how wide and high a piece needed to be to cover the back, and a little over the front as well.
I cut it out and put it over the cake.
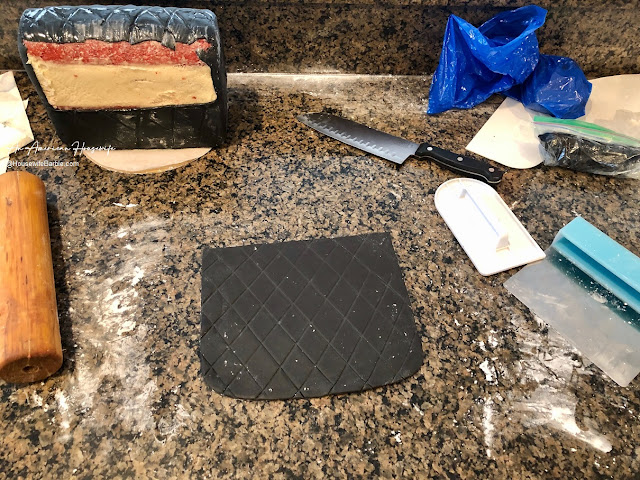
NOTE: LEARNING CURVE: I didn't do the diamond pattern first. I tried to add that after the fondant was on the cake, which was difficult to get even, so for the front I did the pattern first, then draped it on the cake.
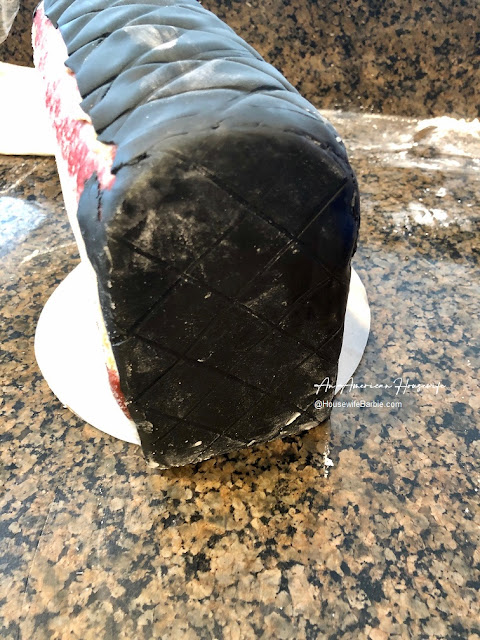
I cut two pieces for the sides in the general size and shape I wanted, and placed them on the cake with a little clear decorating gel to hold them. Then I used a sharp knife to cut the fondant down a bit so I could smooth it with my fingers to meet the top fondant piece on the cake. See photo.
First I did a piece across the bottom front (see photo).
Then I laid out my fondant and did a guesstimate measure to start the last piece at the top of the cake where a 'seam' would be, and down about half way in the front like a purse flap.
And a couple minutes later my hopes were dashed and I figured I was really screwing it all up because I then attempted the chain links to make the purse strap for the cake and I actually put everything down TWICE and was going to just stop. I almost just cut black fondant to make a simple black strap... but I'm glad I didn't stop in the end. I persevered.
NOTE: LEARNING CURVE - fondant is really soft for this. I think a gum paste or something similar would work better and I know professionals have other things they use - but I only had fondant. I popped out the chain link the best I could.
I tried using the edible gold to paint it on before placing it on the cake because I didn't want to accidentally get paint on the cake by doing it after... mistake. This didn't work at all and the fondant just wanted to break. MAKE THE PURSE STRAPS AND PUT THEM ON THE PURSE FIRST. And if you can use gum paste or something other than fondant, you will be happy you did.
While I let the fondant chains sit on parchment for a little bit so they would (hopefully) get hard enough I could pick them up without them falling apart on me... I went back to the cake to attempt to find something to make it look like the seams were sewn.
Maybe they have something to do this design, I have no idea. But I was grabbing things from all over my kitchen to try, including an icing pick, a straight pin, the head of the straight pin, a long twisted wire, etc. Just use whatever you have in your kitchen to make little indents all over the edges for a fake seam.
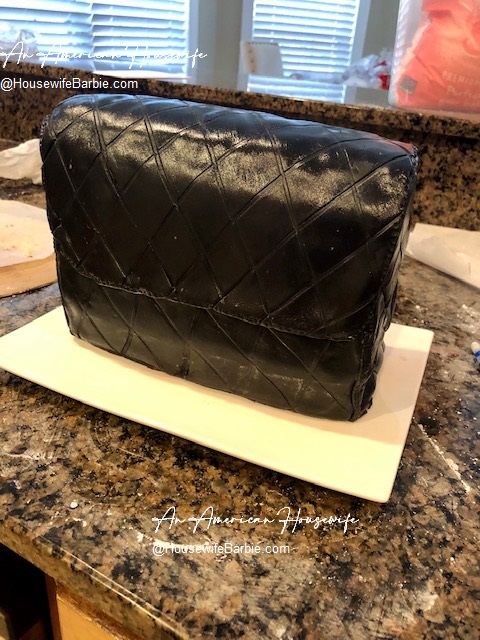
And finally... cleaning it up! On some cakes I just use a brush and brush the extra powdered sugar or cornstarch off; or sometimes get the pesky spots brushed off with a little water, but to make the fondant shiny, I wanted to use shortening.
I brushed the whole cake with shortening to make it shiny and keep it soft.
HERE is right after I carefully carried and draped those darn pieces of fondant chain over the cake and down across the front. I pieced them together as best I could and yes, they were breaking since they hadn't had much time to set up. I placed a few straight pins in to hold them in place while I got some pieces of black fondant rolled out, and cut them into tiny rectangle shaped pieces about 3/4 of an inch long and a little less than a half inch wide. Basically about the width of the gold chain links.
Each little piece I poked the indents on, then pinched each end of it and tucked it into the chain links to look like a leather strap was weaved between the gold chain to form the cake's purse strap.
I wanted to make a little circle where the straps attached to the purse, so I grabbed a bottle cap from a random bottle (I think it was a taco sauce bottle) and with a perfectly clean and dry cap, cut out two little circles, with an indent of two tinier circles inside, to which I placed the ends of the purse 'strap' fondant pieces.
And that's it! I called it "done" and rushed to get it on the table along with some random items like plates and little gold forks and gold and black napkins - added the birthday gifts and then, they walked in the front door! :)


